
Standard Photo Print Sizes
Find standard photo sizes, aspect ratios, and the pixels needed for each print.
View size chartCompare real crops side by side, keep your subject in frame, and save a JPG in the size you choose.
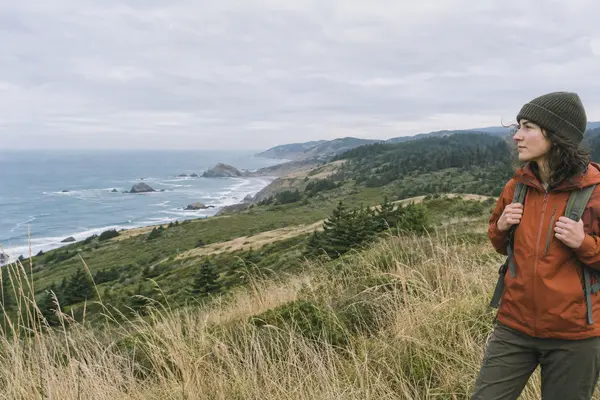
Check a specific print size or work backwards from the paper and PPI you want.
Example pixels
Other photo print tools and guides
Find standard photo sizes, aspect ratios, and the pixels needed for each print.
View size chartCheck 4×6 dimensions and crop a photo for this paper size.
Open the 4×6 toolRead image DPI, measure placed resolution in PDFs, and export batch results.
Check image DPIFind the right picture size for a frame, mat, album pocket, or ID photo.
Match a picture sizeCompare 2×3 and 2.5×3.5 wallet prints and prepare for rounded corners.
Compare wallet printsCheck the size, protect the edges that matter, and take the file to your preferred print lab.
Look at where 4×6, 5×7, and 8×10 cut the edges. A sharp photo can still lose an important part of the frame.
Fill covers the paper and may trim edges. Fit preserves the whole photo and adds white space when the shapes differ.
Estimate the detail visible at your viewing distance. Add exact print borders if you need them, or save the crop and paper settings in a PDF specification.
Choose the same size when ordering. Check the final crop or scaling option, especially for borderless prints.
Effective PPI is the number of original image pixels per inch of the printed photo. Fill uses the pixels inside your crop. Fit uses the whole image and the part of the paper it actually covers. A 300 PPI file can contain less than 300 PPI of source detail if it was enlarged.
We use one arcminute per source pixel as a viewing estimate. Target PPI ≈ 1 ÷ (distance in inches × tan(1 arcminute)). The estimate is about 287 PPI at 12 inches, 144 at 24 inches, and 72 at 48 inches. Eyesight, lighting, and paper affect visible detail. Use your print lab’s file requirements when ordering.
Visual acuity and angular resolutionStart with the lab’s requirements for the product you want. For a small print held close, 300 PPI is a practical target. An 8×10 at that density needs 2,400 × 3,000 usable pixels, measured after cropping. Some labs list a recommended pixel count for each product, while others warn you during ordering if the uploaded file is too small. Follow the requirement for the specific paper and finish.
When a lab asks for a 300 DPI image, it often means 300 image pixels per printed inch. The dots a printer lays down are a separate specification. Check both the original photo detail and the file the tool can export. If the lab asks for more pixels than your photo can provide, try a smaller print or use the original from your camera roll. Preview the crop in the order screen before paying.
Open the photo details on your phone or computer and look for dimensions in pixels. A typical 12 MP, 4:3 example has 4,032 × 3,024 pixels and gives a full-image size of about 13.44 × 10.08 inches at 300 PPI. A 24 MP, 3:2 camera example at 6,000 × 4,000 pixels gives 20 × 13.33 inches at the same density. Choose a paper that fits inside those dimensions, then check the crop.
Camera modes can save different resolutions even on the same device. A 48 MP, 4:3 example at 8,064 × 6,048 pixels reaches 26.88 × 20.16 inches at 300 PPI before cropping. A crop made in your photo app, a screenshot, or a copy from a message can be much smaller. Enter the dimensions of the actual file you plan to print. Use the pixel presets to compare possibilities while you look up the original.
Check the size listed for the photo and the size of the mat opening. An 8×10 frame with a mat for a 5×7 photo normally takes a 5×7 print when you use the mat. The opening can be slightly smaller so the mat holds the edges. Measure your opening and leave a little space around important details. Without the mat, confirm the full print size the frame holds.
A white border printed on the paper gives the photo breathing room even without a mat. Inside mode keeps the ordered sheet size. A quarter inch on all sides of a 6×4 sheet leaves a 5.5×3.5 inch box for the photo. Outside mode adds paper around the chosen image area. Check the new total dimensions before ordering, and check whether the lab’s borderless scaling will cut into the white edge.
Divide each pixel dimension by the density you want. A 3,000 × 2,400 px image can fill a 10 × 8 inch print at 300 PPI. For a different ratio, check the PPI after the crop.
300 PPI is a common starting point for prints you hold close. Larger prints viewed from farther away may look good at a lower density. The lab, source detail, and viewing distance affect the result.
Changing the density label leaves the photo pixels unchanged. Enlarging the file adds interpolated pixels. The source detail displayed in the tool comes from the original crop.
Mark one point in the photo so new crops can keep it inside the print. Inspect the actual crop when you need to keep a whole face, several people, or details near the edges.
Open Add print borders after choosing a paper size. Enter a width for each edge and use Inside to keep the final paper size fixed. Download the result as a JPG or PNG at your chosen density.
The site opens photos and creates images and reports on your device. Clearing the photo removes it from the tool. When tool analytics are enabled, events carry actions and preset choices without your photo, file name, embedded tags, or focal coordinates.
Read the privacy policy